- Last Updated on
Risk of Rain 2 has a whole load of secrets stuffed into the game. Some secrets unlock items, others unlock characters, while others still change the ending of your run. The Celestial Portal is a secret that fits into the last category. This Portal used to be much easier to access in previous patches, but as of 1.0, it’s gotten a lot harder. For your convenience, I’ll guide you through the steps needed to get it on every run.
Creating a loop
The first thing you need to do is create a loop. This isn’t nearly as complicated as it might sound; all you need to do is cycle through the various maps of Risk of Rain 2 until you make it back to the starting maps. Creating a loop used to be far simpler in previous patches, back when we only had a handful of maps, no Void enemies, and no Mithrix to contend with. Now, you’re looking at 5 maps per loop, with another 3 to spawn the Celestial Orb, with a whole load of enemies between you and the Celestial Portal. Keep in mind that difficulty scales with time as well as stage number, so the longer you take, the harder it will be to reach the Celestial Portal without good items.
Creating a loop nowadays will require you to reach the Sky Meadow, the fifth and final map of a loop. There are three ways to leave Sky Meadow, but one will make it impossible to reach the Celestial Portal. First up, you could search for a Newt Altar and go to the Bazaar Between Time after the Teleporter Event. Second, you could drop down to the Bulwark’s Ambry, a different teleporter that takes you to a dimension where Artifacts can be obtained. Lastly, you can use the Primordial Teleporter, but using it immediately will take you to Petrichor V’s moon, barring you from the Celestial Portal.
Realigning the Primordial Teleporter
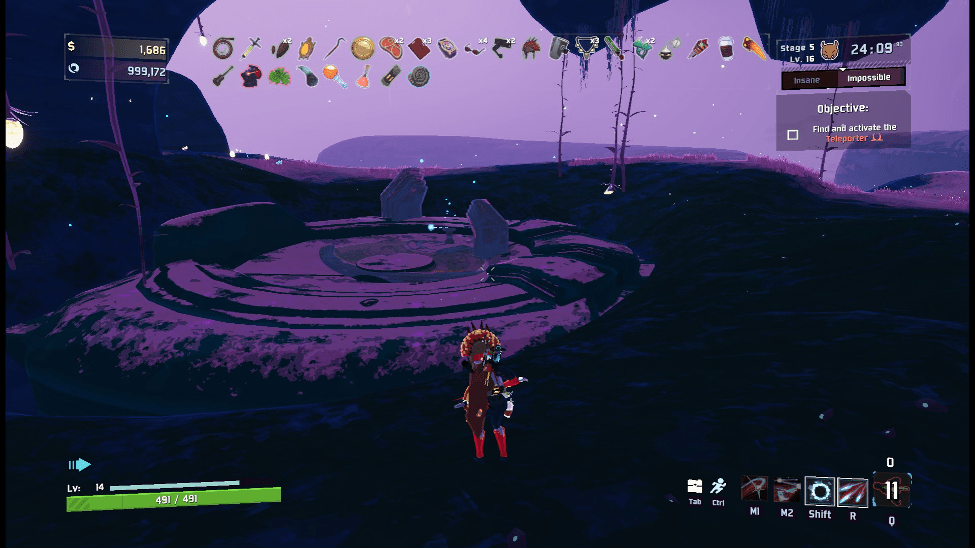
If you want to leave the Sky Meadow using the Primordial Teleporter, you’ll need to realign it first. Once you find it, go to the external pylons surrounding the Teleporter’s center and interact with them. This will realign the Primordial Teleporter back to the planet, allowing you to end the first loop and begin the second.
💥 Don't Miss These Latest Deals 💥

- 27 inch QHD (2560*1440) display with the DCI-P3 90% wide color gamut brings what you’re watching to life in over 16.7M colors
- Nvidia ampere streaming multiprocessors
- 2nd generation rt cores:
- 3rd generation tensor cores
Accessing the Celestial Portal
With your first loop ended, you’ll have to make your way to the third map of your second loop to access the Celestial Portal. At the start, a Celestial Orb will spawn, and you’ll be notified in the chat box of its presence. All you need to do now is find the Teleporter and complete the Teleporter event, but do not take the teleporter afterward. Instead, look around for a blue-ish Portal – that is the Celestial Portal. Interact with it as you would the portal to a Bazaar Between Time, and you’ll be whisked away to a new area.
A Moment, Fractured
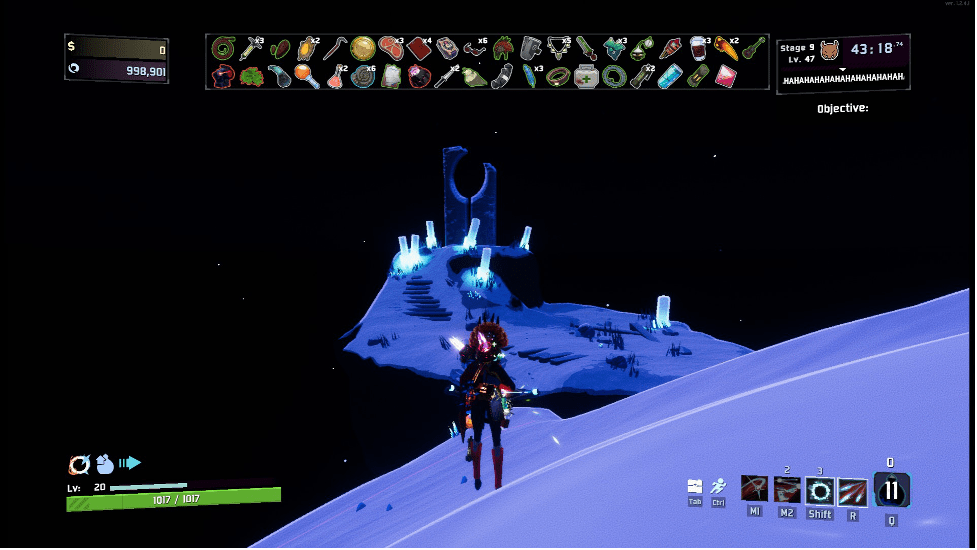
The Celestial Portal leads to a new area named A Moment, Fractured. Here, there is very little of note. No enemies will spawn, no items can be obtained, and there are only three points of interest. There are three small islands off in the distance, with some literal Easter eggs on them. Directly below the starting point is another, smaller platform with an Environment Log. You should collect it quickly once you arrive, as it will disappear after five minutes.
The last point of interest stands tall at the end of the area – the Obelisk. Interacting with the Obelisk will give you the option to obliterate yourself from existence. Accepting this by interacting with the Obelisk a second time will end your run, giving you one ending and 5 Lunar Coins. If you obliterate for the first time, you will also unlock a new character, the Mercenary. You’ll also get a new skin for your character if you manage to obliterate on Monsoon difficulty.
A Moment, Whole
In keeping with Risk of Rain 2’s passion for secrets, A Moment, Fractured is not all it seems to be. If you manage to obtain a particular Lunar Item, the Beads of Fealty, you can access yet another area upon interacting with the Obelisk. This item can be obtained from any Lunar Pods, which require one Lunar Coin to open. You can also purchase Beads of Fealty from the Bazaar Between Time, though they won’t always be on sale.
This area, named A Moment, Whole, is home to the Twisted Scavengers. Upon entering, there is a chance to encounter one of four Twisted Scavengers, each with its own set of items and stats. These bosses can be difficult to defeat, but you will be well rewarded for doing so. Killing one will drop its backpack, which in turn will drop 10 Lunar Coins. Don’t wait too long to collect your coins, as your run will end shortly after killing the
