- Last Updated on
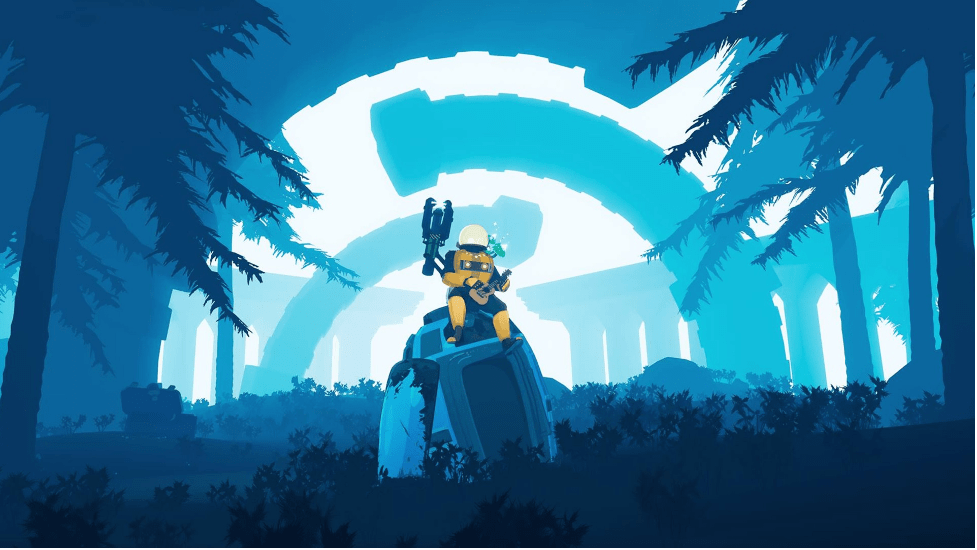
Risk of Rain 2 is pretty chaotic at the best of times, but if you want to add even more unpredictability to your runs, look no further than the Artifacts. Artifacts add a certain spice to the game that you can’t find anywhere else, if you manage to jump through the hoops required to get them. To save you some time and effort, I’ll be simplifying the hunt for the Artifacts, detailing how you can find each one and what effect they have. With all 16 Artifacts, you’ll be able to curate your future runs to be as erratic or calculated as you like.
💥 Don't Miss These Latest Deals 💥

- 27 inch QHD (2560*1440) display with the DCI-P3 90% wide color gamut brings what you’re watching to life in over 16.7M colors
- Nvidia ampere streaming multiprocessors
- 2nd generation rt cores:
- 3rd generation tensor cores
What are the Artifacts?
In Risk of Rain 2, Artifacts are collectible items that can be activated before runs for wildly differing effects. Some will make your run easier, others harder, and others still introduce twists that could go either way.
How to obtain Risk of Rain 2 Artifacts
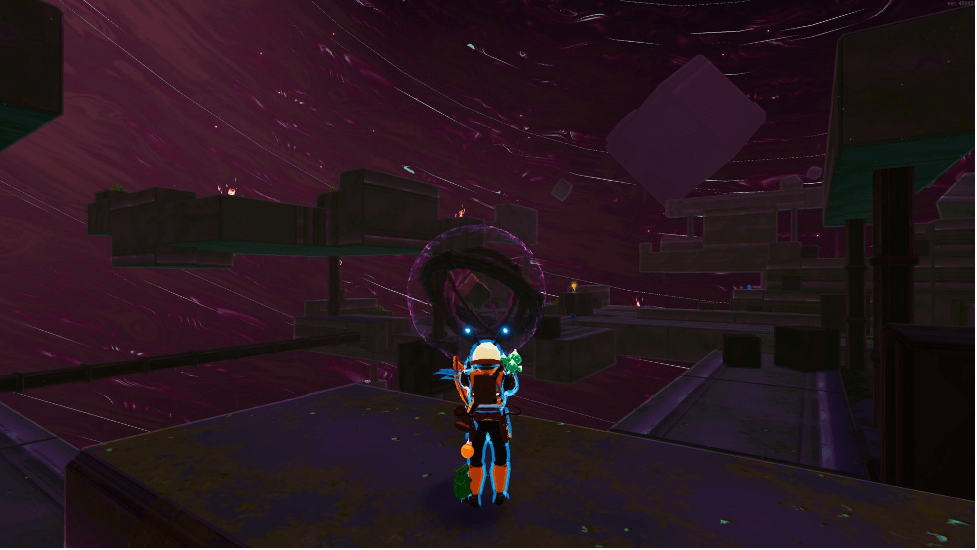
Each Artifact requires a few steps before you can get your hands on them. First, you’ll need to find stone tablets that show the nine symbol code for any given Artifact, though this step can be skipped if you have, say, a helpful guide at your beck and call. Subsequent steps are all you, I’m afraid. You’ll have to make your way to Sky Meadow, which houses the Artifact portal. This is guaranteed to show up as the fifth level, so you should be able to get there easily. You can access this area in a few ways, the easiest of which is to jump down a massive hole in the map.
You could also jump off the edge and control your fall down, but obviously this poses more of a risk. Once at the portal, you will input the code for your chosen Artifact, then fight your way through a trial, each one with a unique twist. These trials amount to finding four keys which damage the Artifact Reliquary “boss”, the fourth of which lands the kill. You will be beset upon by monsters after the first key, so it isn’t smooth sailing. Once the Reliquary is killed, you’ll be able to collect your Artifact. In Risk of Rain 2, Artifacts are a one time pickup, so you won’t have to run the gauntlet again even if you die.
Related: Risk of Rain 2 Railgunner
Risk of Rain 2 Artifact codes
With the basics of Risk of Rain 2 Artifacts out of the way, let’s get into the specifics of each Artifact. I’ll start with where you can find each code, for those of you that would prefer only a nudge in the right direction.
Artifact of Honor
Honor is the easiest Artifact to get, as its code sits right next to the input device near the Artifact Portal. When activated, it forces all enemies to spawn as elites, making runs much more difficult, but also much more rewarding. Honor’s code is:
- Square, Square, Square
- Square, Triangle, Square
- Square, Square, Square
Artifact of Metamorphosis
Metamorphosis can be found in the Titanic Plains, etched on one of the distant rings. It’s one of the “either way” Artifacts. Depending on what you’re like with each survivor, this Artifact will either be a fun change of pace or a nightmare, as it will randomize your survivor at the start of your runs. Metamorphosis’ code is:
- Diamond, Square, Circle
- Diamond, Square, Circle
- Diamond, Square, Circle
Artifact of Chaos
Chaos can be found in the Abandoned Aqueduct, with one upside-down fragment containing six symbols beside a pillar next to the huge stone. The other fragment is behind the Runald and Kjaro gate. Its effect is most notable in multiplayer, as it enables friendly fire for both enemies and allies. While it can be funny seeing a boss get whittled down by his own teammates, getting killed by your buddy’s shotgun blast isn’t as great a time. Either way, it makes for some entertaining runs. Chaos’ code is:
- Circle, Triangle, Circle
- Circle, Triangle, Circle
- Circle, Triangle, Circle
Artifact of Kin
You can find Kin at the Distant Roost, tucked away on a hill in the corner of the map, overlooking the edge. It’s another one that can go either way, making all enemies on a level the same. This could mean you face easy to put down monsters, or a level full of juggernauts. Kin’s code is:
- Circle, Triangle, Triangle
- Diamond, Circle, Triangle
- Diamond, Diamond, Circle
Also Read: Is Risk of Rain 2 Cross-Platform
Artifact of Death
Death awaits you in the Wetlands Aspect, in a tough to reach area that leads to N’kuhana’s altar. You will need to jump off the edge and land on a ledge, then follow a tunnel. At the end is the code. It’s a pretty self-explanatory Artifact. When one player dies, everyone does. You’d best hope your squad is good at teamwork if you want to get far with this Artifact. Death’s code is:
- Circle, Circle, Circle
- Square, Triangle, Square
- Circle, Triangle, Circle
Artifact of Soul
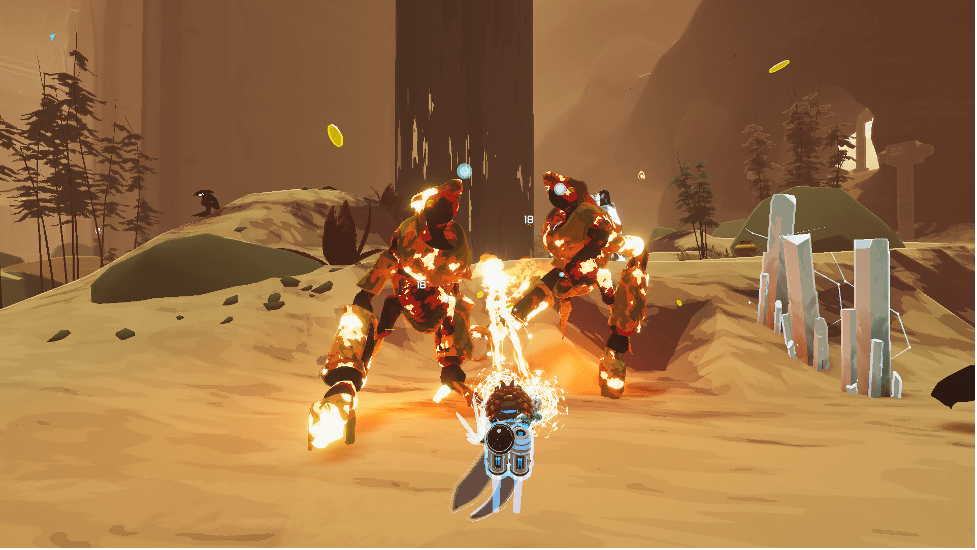
Soul is found in the Scorched Acres, but it’s inaccessible without high mobility or flying. The code is fragmented, sitting in a circle at the top of a hill. The hill is separated from the main level, so it can be difficult to reach. It’s an interesting Artifact, though one that really shines in the later stages of the game. Soul will have enemies release Wisps upon death, which can make things ever more hectic as more enemies spawn. The upside is you earn more money, however. Soul’s code is:
- Circle, Square, Circle
- Circle, Diamond, Circle
- Square, Diamond, Square
Artifact of Dissonance
Dissonance is another Artifact that requires high mobility to reach its code. It sits on top of one of the earthy pillars, so you’ll likely have to fly or grapple in order to reach it. The Artifact can make for some incredibly unpredictable runs, as it makes enemies spawn outside of their usual stomping grounds. You’ll need to be ready for anything with Dissonance active. Dissonance’s code is:
- Circle, Square, Square
- Square, Square, Square
- Square, Square, Circle
Artifact of Swarms
Swarm is located at Rallypoint Delta, over on the island with crates leading up to it. You can either hop across the crates to it, fly, or leap over if you have the items for cross-map jumps. It’s a great Artifact to have too, doubling enemy spawns but halving their HP pools. Coupled with Soul, you can have some very busy runs, perfect if you’re itching for a slaughterfest. Swarms’ code is:
- Circle, Circle, Triangle
- Triangle, Diamond, Triangle
- Triangle, Circle, Circle
Artifact of Frailty
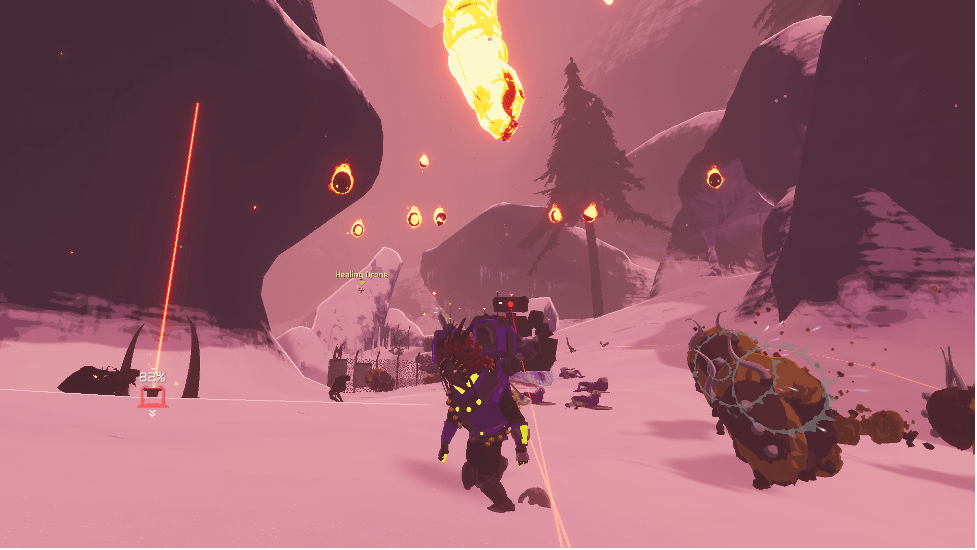
Frailty can be found in the Void Fields, with half the tablet near the edge, close to a big rock. The second half is in Siren’s Call. Frailty serves only to make your life more difficult, doubling fall damage and making out of map falls lethal. You’ll have to be a lot more careful with how you move about the levels with it on. Frailty’s code is:
- Circle, Circle, Circle
- Triangle, Circle, Triangle
- Triangle, Triangle, Triangle
Artifact of Command
Command is found in the Bazaar Between Time, hidden behind Newt, the shopkeep. This Artifact allows you to choose what items you grab, provided it’s of the same rarity as the would-be item. For example, getting a common item will allow you to choose from a pool of other common items. Command is a helpful Artifact, suitable for an easier run or for testing out paper builds. Command’s code is:
- Square, Square, Square
- Square, Square, Square
- Circle, Circle, Circle
Artifact of Sacrifice
Sacrifice is found at the Gilded Coast, under the water around the center area. It presents a huge change to the game, making your currency near obsolete. With Sacrifice enabled, enemies will be your source of items, with each kill having a chance to award an item. Coupled with Swarm, Soul, and Command, you can make a carefully curated item set with relative ease. Sacrifice’s code is:
- Triangle, Triangle, Triangle
- Triangle, Triangle, Triangle
- Triangle, Diamond, Triangle
Artifact of Enigma
Enigma is a tricky code to find, requiring flight or some serious jumping. It’s found in Bulwark’s Ambry, showing Hopoo’s love for secrets, etched onto the back of a massive stone cube. Enigma will spawn you with a random equipment that changes upon use, which can make for some unpredictable runs, though it isn’t as overt as some other Artifacts. Enigma’s code is:
- Diamond, Square, Square
- Triangle, Square, Triangle
- Circle, Diamond, Diamond
Artifact of Glass
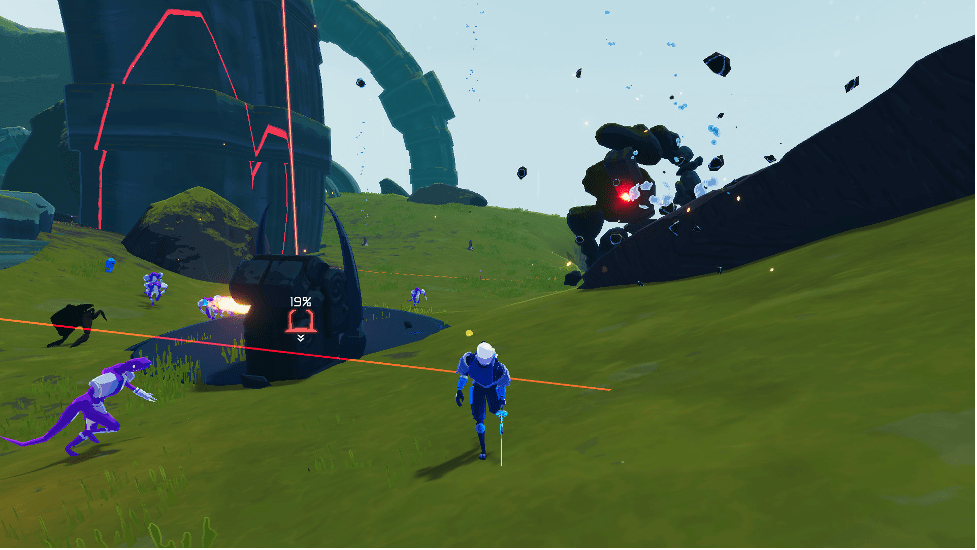
Glass is found in A Moment, Fractured, hidden behind the Obelisk at the end. As you might guess, this Artifact turns you into a glass cannon, with enormous damage potential, but a very brittle body. The sheer spike of 500% damage will make killing enemies a breeze, but the drop to 10% of your base health acts as more than a mere counterweight. If you’re looking for a no hit run, Glass is the Artifact for you. Glass’ code is:
- Diamond, Diamond, Diamond
- Diamond, Diamond, Diamond
- Diamond, Diamond, Diamond
Artifact of Evolution
Evolution is found in A Moment, Whole, which is accessed the same way as Fractured, but requires you hold the Beads of Fealty. The code is tattooed onto the body of the area boss, so you might want to take a screenshot so you can look without distractions. Evolution is a real test of skill, granting enemies one item per level. The item is completely random, so it’s entirely possible to face monsters buffed to kingdom come by as early as the third or fourth levels. Evolution’s code is:
- Diamond, Diamond, Diamond
- Square, Square, Square
- Circle, Circle, Circle
Artifact of Vengeance
Vengeance is the penultimate Artifact and a sneaky one at that, hiding on the underside of the A Moment, Fractured environment log. As for its effect, it will cause your doppelganger to invade every ten minutes. A chaotic one for sure, but even more so with a full team in multiplayer. Vengeance’s code is:
- Diamond, Square, Square
- Diamond, Circle, Square
- Diamond, Square, Square
Artifact of Spite
The final Artifact in Risk of Rain 2, one no less sneaky than its predecessor. It is found in the settings screen, with the full code visible after doing some playing around with the settings. Activating it will cause enemies to bid you a warm farewell, exploding into multiple shards upon death. Pair it with Chaos for some, well, chaotic gameplay. Spite’s code is:
- Triangle, Circle, Triangle
- Circle, Circle, Circle
- Triangle, Circle, Triangle
Frequently Asked Questions
What Is The Final Boss In Risk Of Rain 2?
For your final boss in Risk of Rain 2, you’ll be up close and personal with Mithrix. And let me tell you this, he’ll certainly put your abilities to the test. So be ready, be prepared. If you’re wondering how you defeat Mithrix the best piece of advice I can give you is under no circumstances let him hit you with his giant hammer.
Of course, that is much easier said than done. You’ll also need to master perfectly dodging his powerful shockwaves. Oh, and of course, he won’t be alone, you’ll have several add-on enemies that will also need defeating along with some other special attacks and abilities to contend with.
Also Read: How To Open The Celestial Portal
You’ll have lasers to avoid, sweep attacks to dodge, short-range dashes to combat, and shockwave smashes, and if all that wasn’t enough to deal with you’ll also need to watch out for his all-powerful hammer smash which will do some serious damage to your HP should he catch you.
Why Is It Called Risk Of Rain?
Catchy, cool, tension-building… Risk of Rain is an amazing game title, but on the surface, it doesn’t seem to be all that relevant to the actual content of the game; however, it’s not as random a choice as you may at first think.
There are a number of links tying the title of this epic platform game to its narrative, with the general connection being the sense of foreboding… the feeling that chaos could break out unexpectedly at any moment.
Creators Duncan Drummond and Paul Morse remarked that the title not only makes the game easy to search for online but alludes to the lone protagonist’s worries about the “risk of failure or bad things happening” in the game world they inhabit. Risk of Rain also relates to the immediacy of the game, as players are forced to act with urgency and think on their feet as if caught out in a storm.
Some fans have taken things further with their own theories, one of which suggests that the title refers to the possibility of cargo from the protagonist’s destroyed ship raining down on the planet.
Final Word
And so concludes the quest for all 16 Risk of Rain 2 Artifacts! It’s a serious undertaking to bag them all, but certainly worth doing if you want to spice up your runs after mastering what Risk of Rain 2 has to offer. I’ll be updating this guide in the event any new Artifacts are added to the game, so be sure to stay tuned!
Also Read: Risk of Rain 2 Huntress Guide
