Search
Close this search box.

How To Build the Subnautica Seamoth

Subnautica Seamoth

After you’ve donned your flippers and taken your first few dives on Planet 4546B, it will be clear that swimming alone won’t be enough to survive. Thankfully, Subnautica has its fair share of vehicles to aid your expeditions and help you avoid the planet’s other residents.

The first vehicle available to budding survivors is the Subnautica Seamoth. This nimble submersible will greatly assist your underwater expeditions, providing you with a portable oxygen supply, some basic defenses, and a chance to escape the jaws of a Leviathan. The Seamoth can also be upgraded, enhancing various aspects of the vehicle. All that being said, how can you go about building the Seamoth?

💥 Don't Miss These Latest Deals 💥

KOORUI 27 Inch QHD Gaming Monitor
Save Up To 20%
KOORUI 27 Inch QHD Gaming Monitor
  • 27 inch QHD (2560*1440) display with the DCI-P3 90% wide color gamut brings what you’re watching to life in over 16.7M colors
ASUS TUF Gaming NVIDIA GeForce RTX 3070 Ti OC Edition Graphics Card
Highly Rated
ASUS TUF Gaming NVIDIA GeForce RTX 3070 Ti OC Edition Graphics Card
  • Nvidia ampere streaming multiprocessors
  • 2nd generation rt cores:
  • 3rd generation tensor cores
Razer Blade 15 Gaming Laptop: NVIDIA GeForce RTX 3070
Save 20%
Razer Blade 15 Gaming Laptop: NVIDIA GeForce RTX 3070
  • NVIDIA GeForce RTX 3070 Ti GPU
  • 12th Gen Intel Core i7 14-Core CPU
  • Next-Gen Vapor Chamber Cooling

Subnautica Seamoth – scanning fragments

Subnautica Seamoth scanning fragments

In Subnautica, you need to scan the fragments of a vehicle or object before you can build it. This is true for the Seamoth just as it is for the rest of Subnautica’s vehicles, though the Seamoth is the most accessible by far, needing only three easily found fragments. To unlock it, you have a bunch of options.

The first and easiest option is to search for the fragments passively. They can be found in wrecks in pretty much every biome, with the safest being the Grassy Plateaus. This biome is quite close to your lifepod, and can be picked out quickly by its main characteristic – a lot of seagrass. Make your initial excursions to this biome and keep an eye out for wrecks; you’ll likely find Seamoth fragments there, amongst other goodies.

If you’d prefer a more active and quicker route to unlocking the Seamoth, you should pay a visit to the Aurora, or what’s left of it. Before you make your trip, you’ll need to grab a Radiation Suit and a Repair Tool, both of which are fairly easy to make. The Radiation Suit needs two fiber mesh and two lead pieces, while the repair tool needs silicone rubber, cave sulfur, and titanium. With this gear equipped, head over to the Aurora and make your way inside.

Also Read: Best Places to Find Lithium Subnautica

In addition to a handful of keypad-locked doors, the Aurora contains a few noteworthy destinations, one of which is the Seamoth Bay. Fumble around the ruined interior until you reach the Seamoth Bay. You’ll need to repair a damaged panel to unlock the door to the Bay, which includes two Seamoth fragments. The other will have to be found elsewhere. Once you’ve got your fragments scanned, you can get building your first Seamoth.

Building the Seamoth

Building the Seamoth

To build the Seamoth, you’ll need a handful of materials and a Mobile Vehicle Bay. If you’ve been checking wrecks for the Seamoth, you’ll probably have found a bunch of Mobile Vehicle Bay fragments already. If not, you can find them in wrecks in a bunch of different biomes. Once you’ve got the fragments, you can build the Mobile Vehicle Bay with:

  • 1x Titanium ingot
  • 1x Lubricant
  • 1x Power cell

Next up is the Seamoth itself. To build it, you’ll need:

  • 1x Titanium ingot
  • 1x Power cell
  • 2x Glass
  • 1x Lubricant
  • 1x Lead

None of the material requirements are hard to fulfill; everything is fairly easy to get, with none of the materials demanding an expedition to the more dangerous biomes of Planet 4546B. Once you’ve bagged the necessary materials, all that’s left is to hop onto your Mobile Vehicle Bay and commission your Seamoth. In ten seconds, you’ll have your first seaworthy submersible ready for action. You might want to make an extra power cell or two for the ride.

Upgrading the Seamoth

Upgrading the Seamoth

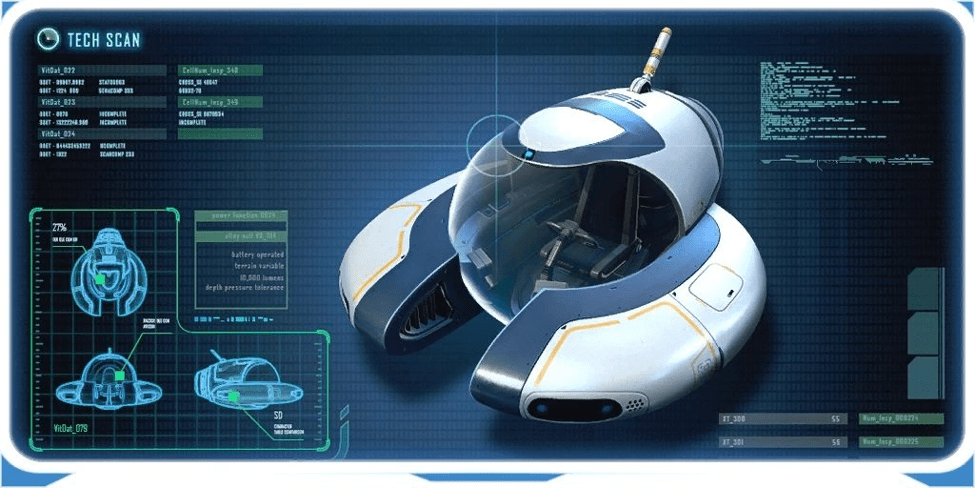
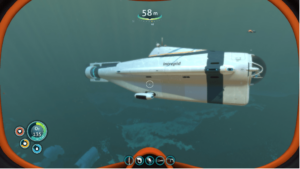
Though the stock Seamoth is a massive improvement to your flippers or seaglide, it’s a far cry from its true potential. Eight upgrade modules can be obtained for the Seamoth, and up to four can be equipped at a time. Some of these modules can be found, while others must be crafted at a vehicle upgrade console or a modification station. For access to the vehicle upgrade console, you should build a Moonpool in your base. You’ll also get a safe place to store and repair your vehicles, too.

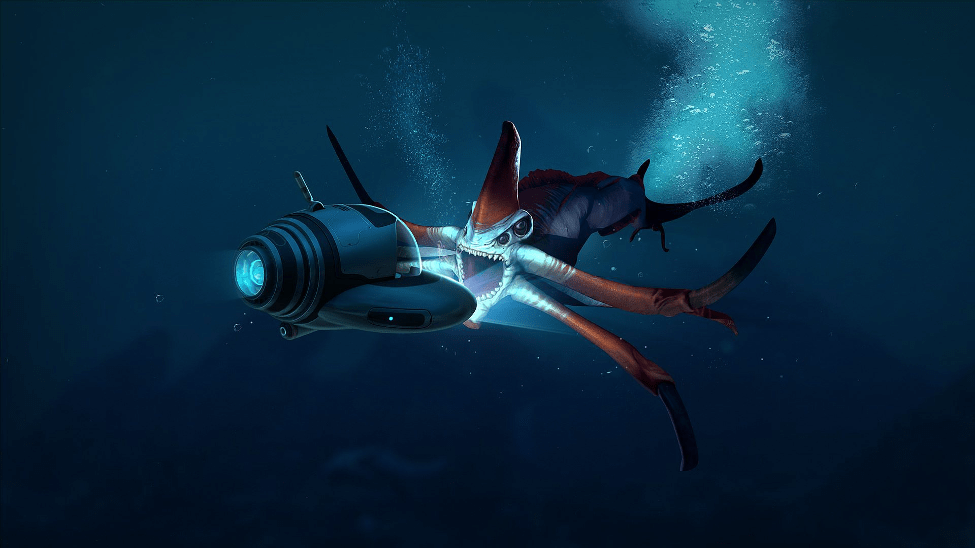
Also Read: Subnautica Leviathans: How To Find (Or Avoid) Each One

Seamoth depth modules

To expand your Seamoth’s operating area, you’ll need to upgrade its maximum crush depth. There are three tiers, bringing the Seamoth’s crush depth from 200m to 300m, 500m, and 900m respectively. The first depth module can be found in the Aurora’s Seamoth Bay, stuck in the vehicle upgrade console. It can also be fabricated, if you’d prefer to avoid the trip. The other two can be fabricated at the modification station, using the previous module as its base.

Seamoth hull reinforcement module

The hull reinforcement module gives the Seamoth a little extra survivability. When equipped, this module reduces damage sustained when colliding with terrain. The effect stacks, with the first module reducing damage by 50%, and a suite of four reducing it by 93.75%. It can be fabricated at the vehicle upgrade console, requiring some basic materials. While this module sounds good at first glance, it does not reduce any damage sustained by angry fish attacks. As much of the sea life in Subnautica has this temperament, you probably won’t get much mileage out of this module.

Seamoth storage module

This module does exactly as it sounds, upgrading the Seamoth’s inventory by six spaces per module. It can be fabricated at the vehicle upgrade console, for a small set of basic materials. This storage module can also be used in another of Subnautica’s vehicles, the Prawn Suit.

Seamoth solar charger module

For a long journey, you might want to throw a solar charger on your Seamoth. When at the surface, each module will charge your Seamoth’s battery by 1% every second during noon. The effects stack, which will both speed up your battery recharge speed and the depth at which you can recharge. With one module, you can charge your Seamoth at a depth of 150m, though not very well. For a quick recharge, you’ll need to be close to the surface. You can create a solar charge at the vehicle upgrade console.

Seamoth engine efficiency module

The engine efficiency module, if you’ll contain your surprise, makes your engine more efficient. Each module will reduce your Seamoth’s power cell consumption by 15%, with each module stacking cumulatively. With four, power cell consumption will be reduced by a total of 60%. Having one module can be handy, though they aren’t that cheap to make. For the necessary materials, you’ll need to venture to deeper and more dangerous biomes.

Seamoth sonar module

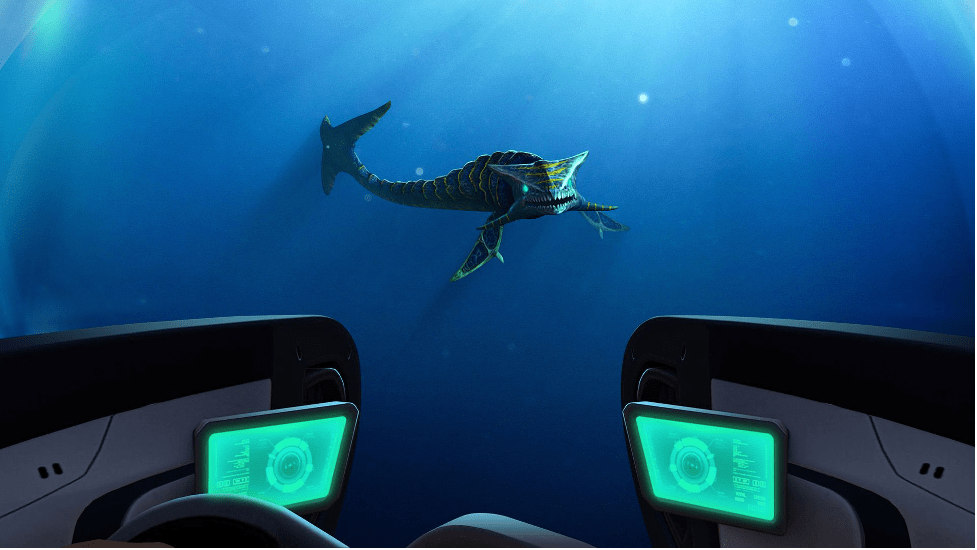
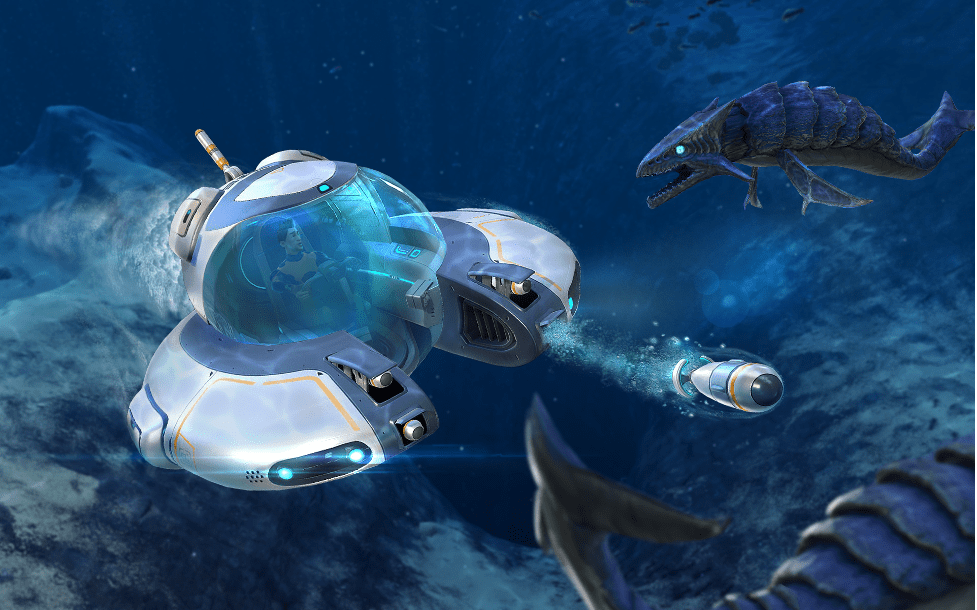
The previous modules had their utility, but the final three are particularly useful. The sonar can be used to map your surroundings and locate nearby fauna. In the dark depths and tight underwater caverns of Subnautica, it’s pretty much a requirement. You’ll be able to spot nearby danger, letting you either get the drop on Leviathans that have no doubt been terrorizing you, or flee with plenty of warning. Considering its usefulness, the sonar is surprisingly cheap to make, and can be fabricated at the vehicle upgrade console.

Seamoth perimeter defense module

Seamoth perimeter defense module

Another incredibly useful module is the perimeter defense system. With a single module equipped, your Seamoth can go pod-to-fin with Leviathans, especially the Reapers and Ghosts. With a middling charge, your Seamoth can emit an electric pulse, dealing a bit of damage to nearby fauna and scaring them off.

If you get grabbed by a Reaper, a well-timed charge can see you emerge from the grapple with only minimal damage sustained. It is somewhat expensive to make though, requiring materials gathered from the deeper biomes in Subnautica.

Seamoth torpedo module

Seamoth torpedo module

The torpedo system really elevates your Seamoth from prey to predator. It can load two types of torpedoes – vortex and gas. Vortex torpedoes act similar to the stasis rifle, locking your enemy in place for a time. Gas torpedoes burst into a cloud of gas, dealing periodic damage to everything caught inside.

With a combination of the two, no Leviathan can withstand the nimble Seamoth with its newly-acquired fangs. You’ll need to plumb the depths to gather the necessary materials, however. Making torpedoes is an investment, too, balancing out the potential lethality of the module. If you’ve had enough of the Leviathans ruling the waves, loading up a few torpedoes and throwing on a sea shanty is the way to go.

And that’s everything you need to know about how to build the Subnautica Seamoth, plus a little extra. With a full arsenal of upgraded modules, you have some serious variety in what role your Seamoths fill. With the right setup, your Seamoth can be a long-distance transport, a hauler, or a speedy assault vehicle. Though it’s the first vehicle you unlock, the Seamoth can easily carry you well into the end game, assuming you show it the love it deserves.

The Seamoth is a brilliant companion, but you’ll need some of Subnautica’s other vehicles at some stage. They take a bit more time and effort than the Seamoth though, so check out our guides on the Cyclops and Prawn Suit for a helping hand.

Facebook
Twitter
Reddit
Pinterest

You May Also Like

Leave a Comment

Articles You Might Like

Share This Article