- Last Updated on
Exploration, discovery, and creation are the core aspects of Subnautica. These aspects are perfectly enjoyable alone, with each new beautiful discovery being its own memorable experience, and a little bit of foreboding sprinkled in at times. That said, having the chance to explore the depths of Planet 4546B with friends would bring about a whole new game, and be fitting for the survival/crafting genre. As nice as it’d be, playing Subnautica with friends isn’t as straightforward as you might like, but it isn’t impossible. In this guide, I’ll walk you through how to get Subnautica multiplayer working.
Does Subnautica have multiplayer servers?
💥 Don't Miss These Latest Deals 💥

- 27 inch QHD (2560*1440) display with the DCI-P3 90% wide color gamut brings what you’re watching to life in over 16.7M colors

- Nvidia ampere streaming multiprocessors
- 2nd generation rt cores:
- 3rd generation tensor cores
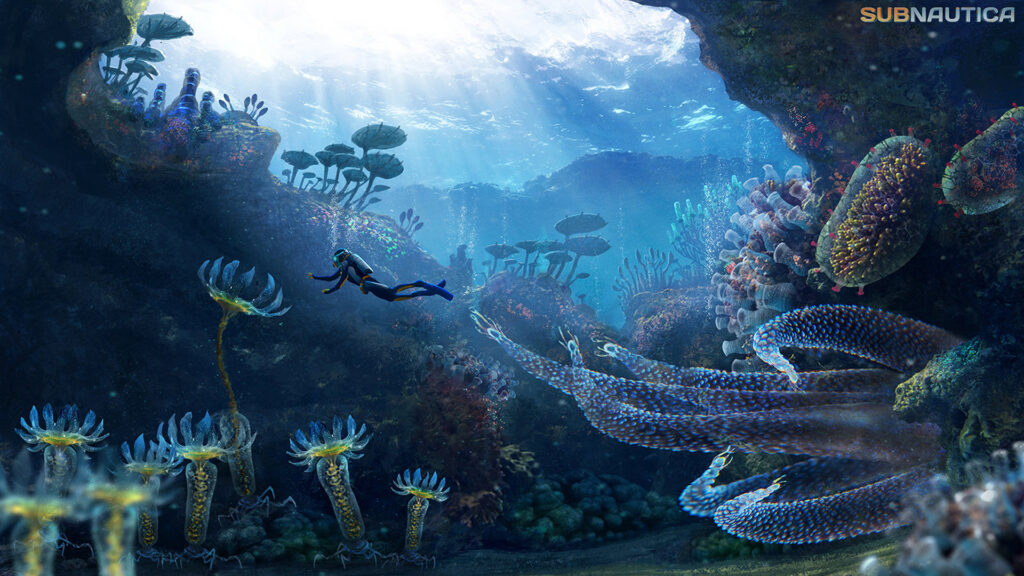
Unfortunately, the developers of Subnautica didn’t implement any kind of multiplayer functionality whatsoever, whether that be online servers or local coop. While they may have considered multiplayer at one stage, the developers kept Subnautica a singleplayer only game for two reasons.
The first reason is that it would detract from the overall experience they were going for. Although exploration and discovery are two of the main parts of Subnautica, so too is terror. Staring into the inky blackness, wondering what the source of that deafening roar could be, packs much more of a punch when it’s just you and your AI assistant. Secondly, multiplayer was simply too difficult to add. It would have taken the developers a lot of time and resources to implement, which would have delayed the release of the game, and possibly caused some features to be axed, as a consequence. In fact, the developers stated in an interview that the addition of multiplayer would have required a rework of the entire engine to properly implement. This effectively removes any chance of multiplayer functionality coming in the future, too.
All this being said, playing Subnautica with your friends is still possible. If you install the Nitrox mod, and you jump through a few hoops to get things working, you’ll be able to explore the water world with some company.
Subnautica multiplayer mod
To play Subnautica multiplayer, you’ll need to download and install Nitrox. Though it started off as a Nexus mod and still has a page there, you’ll need to head over to the official website to pick up the mod. This website has a lot of information about the mod and how to get it working, so it’s worth giving it a good look. You can also head over to the official Discord server linked on the site if you have any questions. Note that this mod is only compatible with Steam, Epic Games, and Windows versions of Subnautica, so console players are out of luck for now.
Installing Nitrox for Subnautica multiplayer
Though modding your game might sound daunting at first, installing Nitrox is pretty easy. First, you’ll need an unzipping tool, such as 7zip. Once Nitrox has finished downloading, put the zipped file wherever you like and extract it to a new folder. There are a bunch of files inside, but the one you’re interested in is the Nitrox Launcher. Run this launcher as administrator (it won’t work properly if you launch it otherwise), and you’ll be met with the Nitrox launcher. From here, you’ll be installing Nitrox to your Subnautica install location.
To finish the install, click the options button at the bottom of the launcher, then check where it says Subnautica installation. The mod should have already detected your Subnautica installation pathway, but if it hasn’t got it right, it’s an easy fix. Click the blue “change” button next to the pathway, then navigate to where you installed Subnautica. For steam, this should look something like “C:\Program Files\Steam\steamapps\common\Subnautica”. For Epic Games, the process is the same, but your pathway will look something like “C:\Program Files\Epic Games\Subnautica”. With that, the mod will be installed.
Setting up a Nitrox server

If you are hosting for your friends, the next step is to set up a server. Doing this is simple; click the “server” button on the left, then click “start server”. This will open a command dialogue box, which does all the techie stuff to start the server. Nitrox automatically does port forwarding, so you won’t have to fiddle around with doing it yourself or using apps such as Hamachi, like you might have done to host a Minecraft server back in the day. Note that if any firewall issues crop up, you’ll need to allow the mod to pass through, otherwise your friends won’t be able to connect to your server.
At this point, click the “play multiplayer” button to launch the game with the mod running in the background. You should notice that the “singleplayer” button has been replaced by “multiplayer”. Click that, then click “connect to local”. The game will then start as normal, with your character spawning in the Lifepod. Now, all you need is for your friends to join.
Your buddies will need to go through the same steps as you did to launch the mod properly, so make sure they do that first. Then, give them the IP address you used to host the server, which can be found in the command window that opened when you hosted a server. Your friends should then click on “multiplayer”, then “add server IP”, then put the IP address you gave them. Give it a second to load, then your friends should start joining your game.
That’s all there is to it. As you can see, it’s a pretty simple installation process, so it should go off without a hitch, and you’ll be able to explore and get devoured by Reapers with your friends. If you have any problems, or you just want to join a public server, you should consider checking out the Nitrox Discord server for more details.


