- Last Updated on
Gear and resources are paramount in Valheim. Once you’ve set up the first trappings of your base, you’ll have access to tools with a bit more punch than your bare fists and whatever you can cobble together with basic resources. But, you’ll soon find a mere Workbench isn’t enough. If you want to make Odin proud, and make your adventures in the Tenth Realm easier, you’ll need to work on your armory. To accomplish this, you’ll need a Forge.
A Forge in Valheim is a step up from the Workbench. With it, you’ll be able to fully utilize the Copper and Tin that you’ll have harvested from the Black Forest. This will allow you to suit up in proper armor, and craft the best weapons and tools available in the early game. If you want to adequately arm yourself for the journey ahead, crafting a Forge should be your top priority. Here’s how you can do exactly that.
💥 Don't Miss These Latest Deals 💥

- 27 inch QHD (2560*1440) display with the DCI-P3 90% wide color gamut brings what you’re watching to life in over 16.7M colors

- Nvidia ampere streaming multiprocessors
- 2nd generation rt cores:
- 3rd generation tensor cores
Making the Forge in Valheim

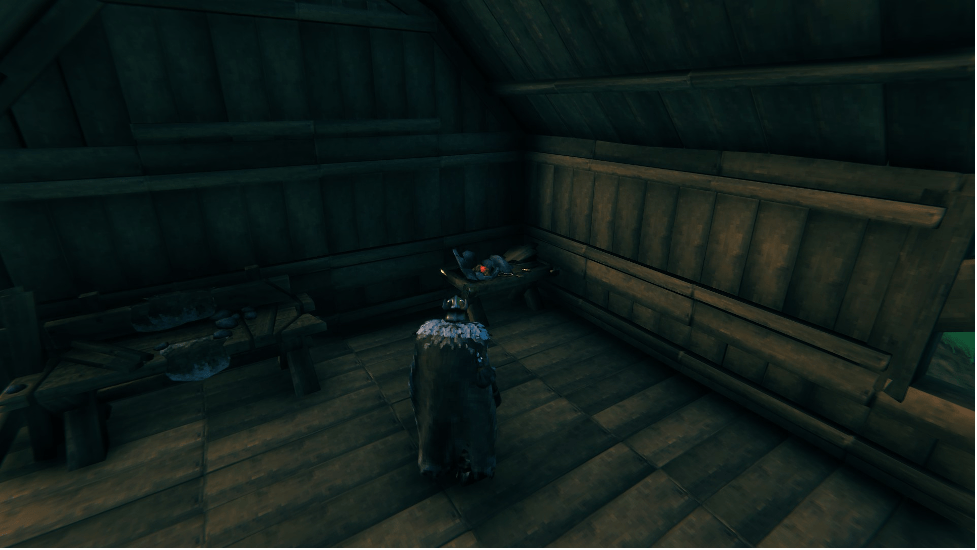
To make the Forge, you’ll need a building with a roof, plus a nearby Workbench. You’ll get away with about 70% roof coverage, but it can be a bit finicky to do, depending on how you’ve designed your building. I suggest dedicating a building specifically for the Forge to avoid any complications, but you might disagree. However you choose to do so, once you’ve got your Forge set up, you’ll have access to Bronze and a suite of new arms and armor. You can build it with the following materials:
- Six Copper
- Four Stone
- Four Coal
- Ten Wood
All of these materials are pretty easy to obtain at any stage of the game. The only one you might have trouble with is Copper. You’ll need to defeat the first of Valheim’s bosses in order to craft the pickaxe needed to harvest Copper Ore. However, there is a sneaky strategy you can employ if you want to rush. Head into the nearest Black Forest and look for a node of Copper Ore. If you didn’t know, they look like large mossy rocks with veins of Copper visible on the surface. Once you’ve found one, mark it on your map.
Next, you’ll need to enlist the aid of a Troll. They are somewhat common in the Black Forest, so you shouldn’t have much difficulty finding one. Once you have a willing participant, it’s time to guide him over to the Copper. You’ll want to bait out swings from the Troll once you’re nearby the Copper node, making sure his attacks connect with the rock. The Troll will mine it, you’ll collect it, and you can make your way back to base a good haul of Copper ore. Do the same at a Tin node if you’d like to rush Bronze.
Upgrading your Forge in Valheim

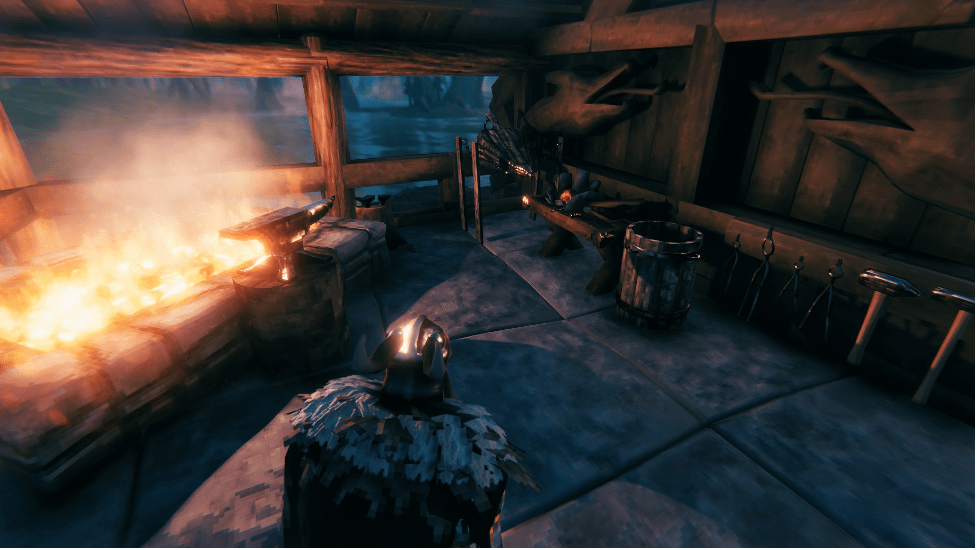
While the Forge will allow you to craft a bunch more tools and arms immediately, you’ll need to upgrade it to realize its potential. To do this, you’ll need a little bit of space nearby the Forge, and a bunch of upgrade structures for the station. Each one will increase the level of your Forge, which will increase the number of items you can craft.
Although you’ll need a bit of extra space around your Forge, you don’t need to go crazy. These upgrade structures can be positioned anywhere you like, as long as it is sufficiently close to the Forge itself. This will be indicated by a goldish line between your Forge and the upgrade you have yet to build. If you don’t see the line, you’re too far away. It shouldn’t be too difficult to keep these upgrades nearby, however. You can place them at different inclines to your Forge, tucked away behind walls or other obstacles, and some of them can even be placed on a wall. It might not look great, but you’ll at least have a workable solution. Here are the upgrades you can build for your Forge, and the materials you’ll need to do so:
- Forge Cooler – 10 Copper & 25 Fine Wood
- Anvils – 2 Bronze & 5 Wood
- Forge Toolrack – 15 Iron & 10 Wood
- Smith’s Anvil – 20 Iron & 5 Wood
- Forge Bellows – 5 Deer Hide, 4 Chain, & 5 Wood
- Grinding Wheel – Nearby Stonecutter station, 1 Sharpening Stone, & 25 Wood
Most of the items needed to fully upgrade your Forge are quite easy to find. You’ll gather the basic raw materials naturally during your travels, Iron can be extracted from Crypts in the Swamp biome, and Chains can be dropped by Wraiths, which can also be found in the Swamp. They only come out at night, though. What is much harder to find is the Sharpening Stone. This will require a trip to one of the most dangerous biomes currently in the game – the Plains.
You’ll need to battle your way through Fulings, Deathsquitoes, and wild Loxes until you reach a Fuling village. There is a chance that a Sharpening Stone spawns in one of the chests. If you don’t find it, you’ll have to rinse and repeat until you do, raiding your way across each Plains biome like a true Viking warrior.


