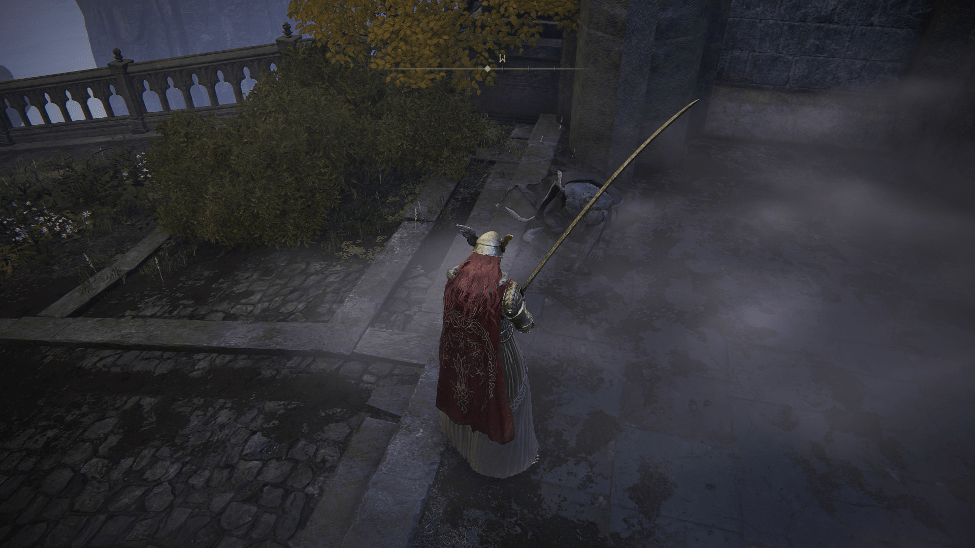
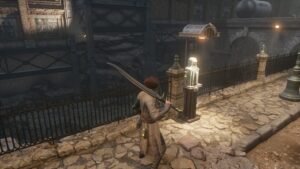
- Last Updated on January 2, 2023
Once you’ve beaten the first Shardbearer, Godrick the Grafted, the next phase of your journey will take you to Liurnia of the Lakes. This area is home to the Raya Lucaria Academy, an optional location, but certainly one worth visiting. A second Shardbearer, Rennala, resides at the top of the Academy, and can reward visitors with more than just her Shard once defeated. However, entering the Academy isn’t quite as simple as strolling up to the gates and heading inside. You’ll need to get your hands on an Academy Glintstone Key first, which will require a bit of exploration.
Map to the Glintstone Key

If you’d rather search for the Glintstone Key without risking spoilers, you’re in luck. A corpse is lying against a wall at the southern entrance to Raya Lucaria Academy, with a lootable map to the Glintstone Key. Touch the nearby Grace and collect the map. It isn’t terribly descriptive, only depicting a few bits of land in the water with several Xs on one of them. You’ll probably find it with a bit of perseverance, but it might take some time. If you’d prefer a more straightforward route to the Glintstone Key, allow me to be your guide.
💥 Don't Miss These Latest Deals 💥

- 27 inch QHD (2560*1440) display with the DCI-P3 90% wide color gamut brings what you’re watching to life in over 16.7M colors

- Nvidia ampere streaming multiprocessors
- 2nd generation rt cores:
- 3rd generation tensor cores
Locating the Glintstone Key
Searching for the Glintstone Key will take you on a bit of a journey, but you won’t have to leave Liurnia. Starting from the map-bearing body outside Raya Lucaria Academy, head back down the bridge and into the swamp. Travel off to the west, over to the Temple Quarter area. If you haven’t yet discovered the Temple Quarter, be on the lookout for a sunken village populated by Albinaurics, the little frog-looking enemies. While you’re here, make sure you touch the Site of Grace before moving on. From this point, simply head north-northwest on Torrent.
Also Read: Where To Find Celestial Dew
Following this bearing, you will see two chunks of land emerging from the lake. The one you’re interested in is closest to the north. It’s easy to spot, being a jaggedy outcrop of rock with a particular resident of interest – Glintstone Dragon Smarag. While he serves as a guardian for the Glintstone Key you’re after, defeating him isn’t strictly necessary. When you first arrive, he will be asleep, giving you more than enough time to sneak behind him and snag the key from his stash. Even if you wake him before obtaining the Glintstone Key, he’ll take a few seconds to properly come to and begin the boss fight. During this time, you can snatch it and do a runner.
Fighting Glintstone Dragon Smarag
If you’d rather stand your ground and duel the dragon, there are a few things to keep in mind to make your fight easier. For starters, Smarag is a magical dragon, so he’ll be sending sorceries your way, not just fire. If you plan on tanking a few hits, you should factor in magic and physical resistance when choosing your armor.
Besides adding magic to his attacks, Glintstone Dragon Smarag will employ a similar fighting style to that of the other dragons. While on the ground, he’ll focus on melee attacks if you’re close to him, and breath attacks if you’re further away. The main one you should watch out for is his Glintstone Cometshard, an attack that he’ll use when you’re quite far from him.
It’s fairly easy to anticipate, as Smarag will rear his head back and gather magical energy, releasing it as a fast magical projectile. This attack is very punishing, one-shotting lower level players and killing those who have suffered even slight damage during the fight. Smarag will usually fire two projectiles back-to-back, so don’t let your guard down after the first shot. It’s easily his most frustrating attack, so don’t give him the opportunity to abuse it.
While airborne, Smarag will focus on AOE breath attacks and dive bombs. There isn’t really much to say here, just keep the beast in sight and react accordingly. Using Torrent is often the best way to avoid the large-scale breath attacks, and dive bombs can be easily dodged with a well-timed roll. He tends not to stay airborne for long, so keep moving and use the time to heal and buff up if you need to. When he’s back on foot, continue pummeling him.
Felling the beast
When fighting Smarag, there are two main strategies depending on your build. The first is for melee, and is largely focused on damaging the head. Strikes to Smarag’s head deal 50% more damage, and can posture break him. Once Smarag has been broken, rush up to his eye for a finishing attack, dealing massive damage. For reliable head damage, the best approach is to use Torrent opportunistically, riding up close when a window opens, and striking with a long weapon. You can also hop off Torrent and deal a jumping attack to Smarag’s head. After a few hits, Smarag will drop. If you don’t want to aim for the head, simply riding Torrent around Smarag’s leg and whacking his wings and feet will work fine.
All you need to do for ranged and magic builds is stay far from Smarag and pelt him with your attacks. Make sure you aim for the head, as that will do extra damage and build up posture breaks. When Smarag gets close, simply hop on Torrent and pull back, then continue firing at him. Rinse and repeat until he’s dead.
Rewards for defeating Glintstone Dragon Smarag
Once you’ve killed Glintstone Dragon Smarag, he’ll drop a couple treasures for your efforts. You’ll get a decent amount of Runes, 14,000, to be exact. You’ll also get a Dragon Heart, which can be turned in at the Cathedral of Dragon Communion for his Glintstone Breath attack. This Cathedral is in Caelid, close to the southernmost point of the area. If you follow the road that wraps around Caelid in a horseshoe, you can’t miss it.
Unlocking Raya Lucaria Academy

Once you’ve got the Glintstone Key, you can head back to Raya Lucaria Academy and open the gates, regardless of whether you killed Glintstone Dragon Smarag. Once you’ve used the key, you’ll be able to pass through either gate as often as you like. However, you won’t be able to give the key to anyone else. Instead, you’ll need to head inside the Academy and make your way onto the roof. The second key is stuck on a chandelier, which can only be accessed by dropping onto rafters from a room on the top floor, accessed by a window leading to the roof. With this key, you’ll be able to complete Thops’ quest, and exhaust the use of Glintstone Keys for your playthrough.