


Save Up To 20%
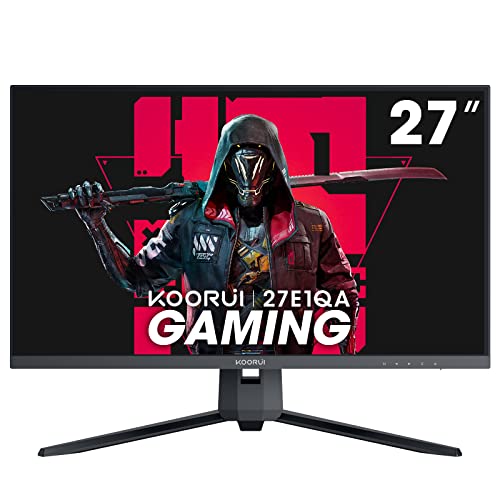
KOORUI 27 Inch QHD Gaming Monitor
- 27 inch QHD (2560*1440) display with the DCI-P3 90% wide color gamut brings what you’re watching to life in over 16.7M colors
Highly Rated
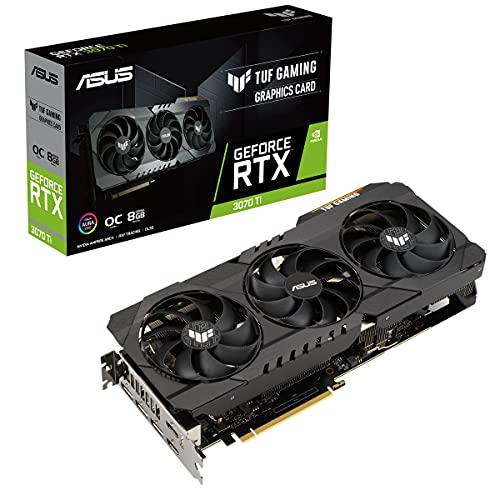
ASUS TUF Gaming NVIDIA GeForce RTX 3070 Ti OC Edition Graphics Card
- Nvidia ampere streaming multiprocessors
- 2nd generation rt cores:
- 3rd generation tensor cores
Save 20%
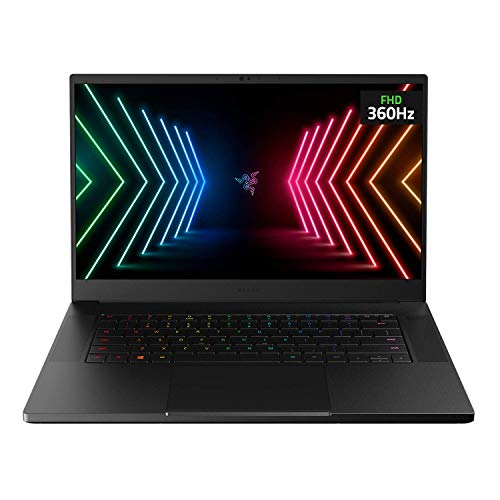
Razer Blade 15 Gaming Laptop: NVIDIA GeForce RTX 3070
- NVIDIA GeForce RTX 3070 Ti GPU
- 12th Gen Intel Core i7 14-Core CPU
- Next-Gen Vapor Chamber Cooling