- Last Updated on
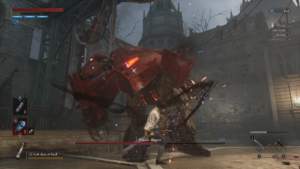
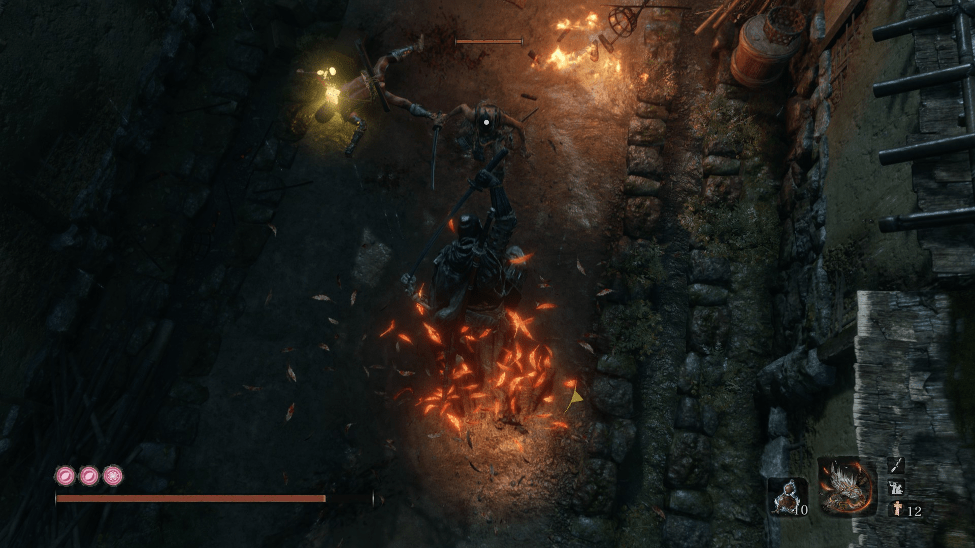
Sekiro can be a pretty grueling game at times, in keeping with FromSoftware’s punishing tradition. Fights can be challenging, and death is always close at hand. But, there are ways to make your playthroughs a bit easier. Collecting all the Gourd Seeds is one way, giving you more heals and keeping you in the fight a bit longer. Grabbing Prayer Beads is another good idea, boosting your health and letting you take more knocks. However, these perks will only go so far, and your combat ability is still the ultimate factor in victory.
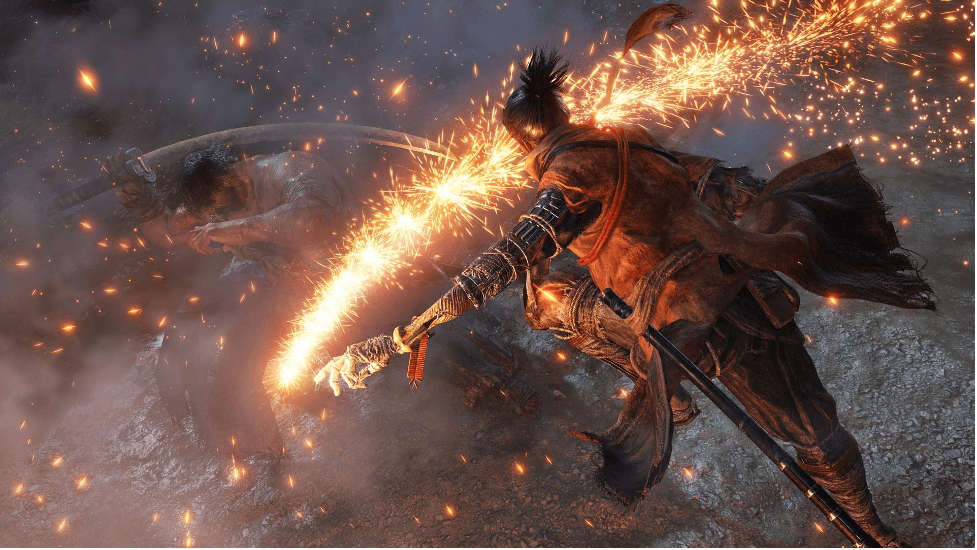
There is another set of items that you can collect, ones that increase your options in combat – Shinobi Prosthetics. Each prosthetic gives you new ways to approach a fight, be it adding a ranged attack, applying status effects to enemies, or exploiting the weaknesses of certain bosses. Here’s how you can get them all.
💥 Don't Miss These Latest Deals 💥

- 27 inch QHD (2560*1440) display with the DCI-P3 90% wide color gamut brings what you’re watching to life in over 16.7M colors
- Nvidia ampere streaming multiprocessors
- 2nd generation rt cores:
- 3rd generation tensor cores

- NVIDIA GeForce RTX 3070 Ti GPU
- 12th Gen Intel Core i7 14-Core CPU
- Next-Gen Vapor Chamber Cooling
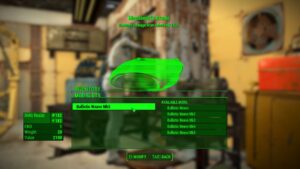
Loaded Shuriken
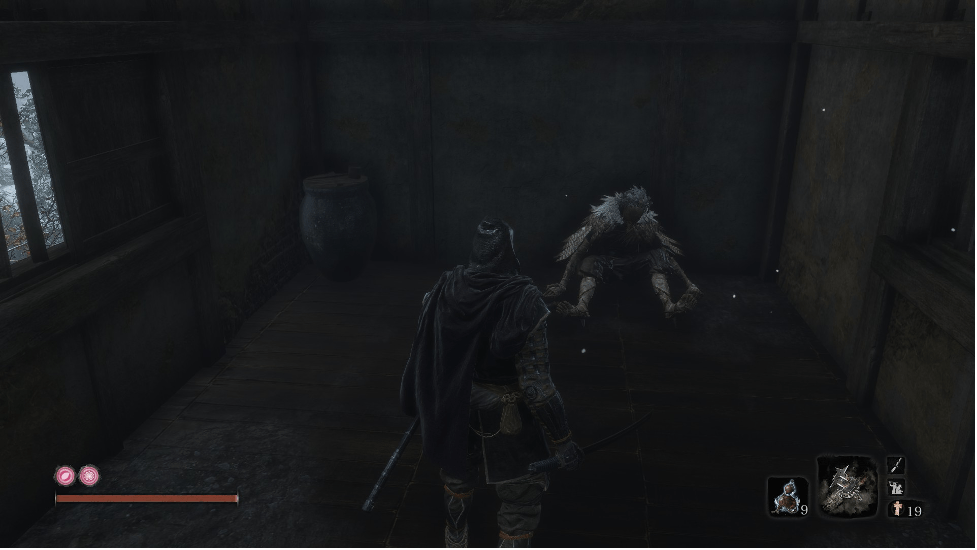
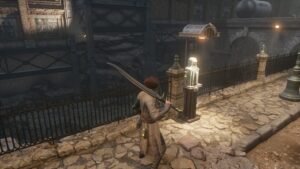
The first prosthetic tool in Sekiro is the Loaded Shuriken. It’s easy to find, being located in one of the first areas you’ll explore – Ashina Outskirts. Continue on through this area until you reach a damaged two-story gateway. There will be a grapple point leading inside the second story, with a corpse on the left. The Loaded Shuriken item is on that corpse. Take it back to the Sculptor, as you’ll do for every future Prosthetic Tool item, to have the tool installed.
Although it’s the first Shinobi Prosthetic, the Loaded Shuriken is by no means the worst. It gives you a simple ranged attack, but that attack has a load of uses. With it, you can dispatch mob enemies, such as dogs or geckos, and interrupt attacks. The Shuriken is brilliant against aerial enemies, like Lady Butterfly or the Nightjar Ninjas, as a single shuriken will knock them down and stop their attacks. You’ll also build up a lot of posture damage in aerial enemies, leading to some quick kills.
The Loaded Shuriken gives you some pretty good options in combat, but with upgrades, it’s even better. You’ll do increased vitality and posture damage, damage enemies through their block, and my personal favorite, perform a “Chasing Slice”. This allows you to quickly close the gap between you and your enemy, right after throwing a shuriken. You’ll need to unlock this in the Prosthetic Arts tree, costing you one skill point. This slash, combined with the staggering effect that the Shuriken has on many enemies, makes it easy to create and exploit openings.
Shinobi Firecrackers
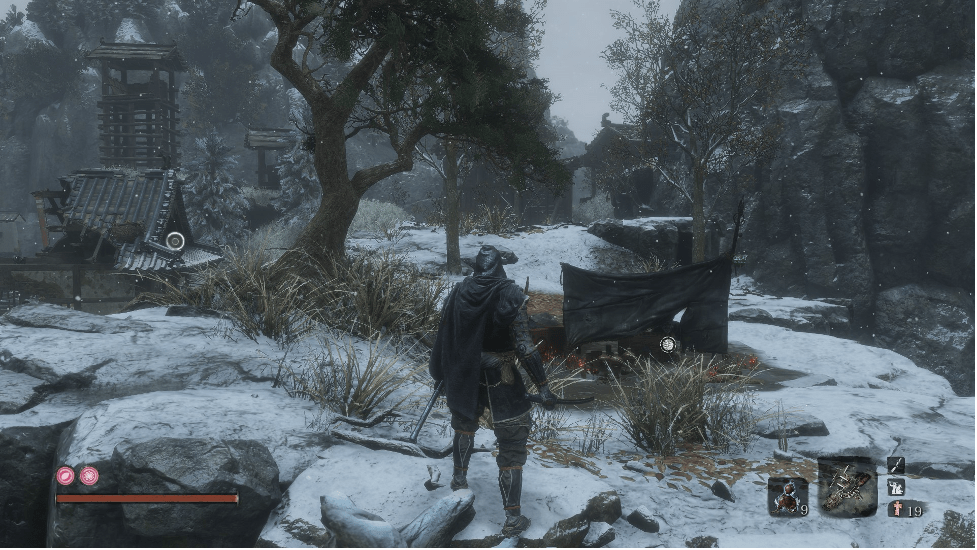
The next prosthetic tool you’re likely to encounter is the Shinobi Firecrackers. You’ll need to pay a visit to the Crow’s Bed Memorial Mob merchant and part with 500 Sen to get it. This merchant can be found atop a cliff in Ashina Outskirts, not far from the Gate Path Idol. After you’ve defeated General Naomori Kawarada, you can grapple up onto the nearby buildings. You should be able to see the merchant from up there.
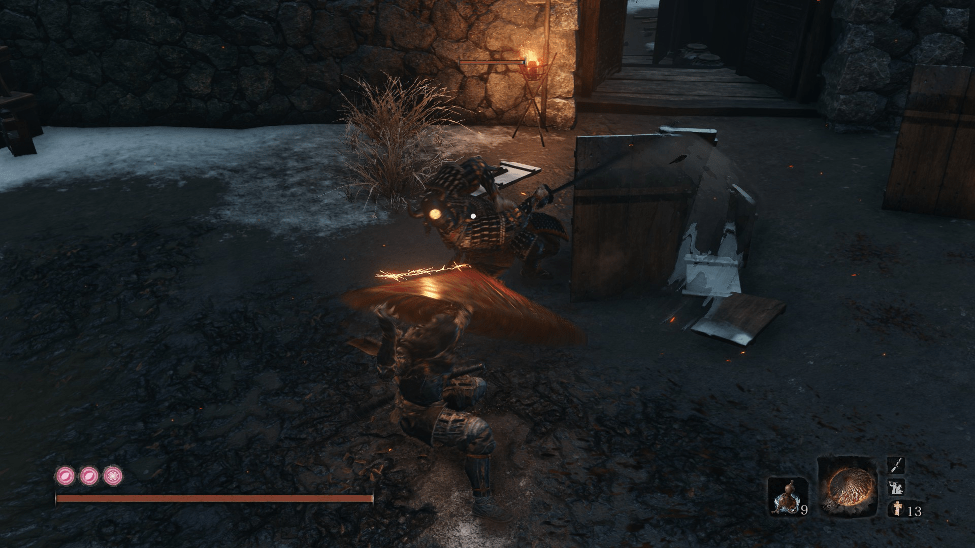
Shinobi Firecrackers don’t have as wide a variety of combat uses as the Loaded Shuriken, but when it gets used within its niche, it packs a serious punch. These Firecrackers are perfect for getting out of a sticky situation, stunning enemies, and creating an opening for heavy strikes or a retreat. Shinobi Firecrackers shine particularly against beasts, terrifying them and stunning them for much longer. I’d recommend getting these if you’re struggling with the Blazing Bull or Guardian Ape.
Upgrades to the Shinobi Firecrackers mainly just improve its base effects. You’ll increase the range of effect and length of stun, and the Firecrackers also benefit from Chasing Slice.
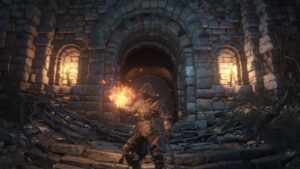
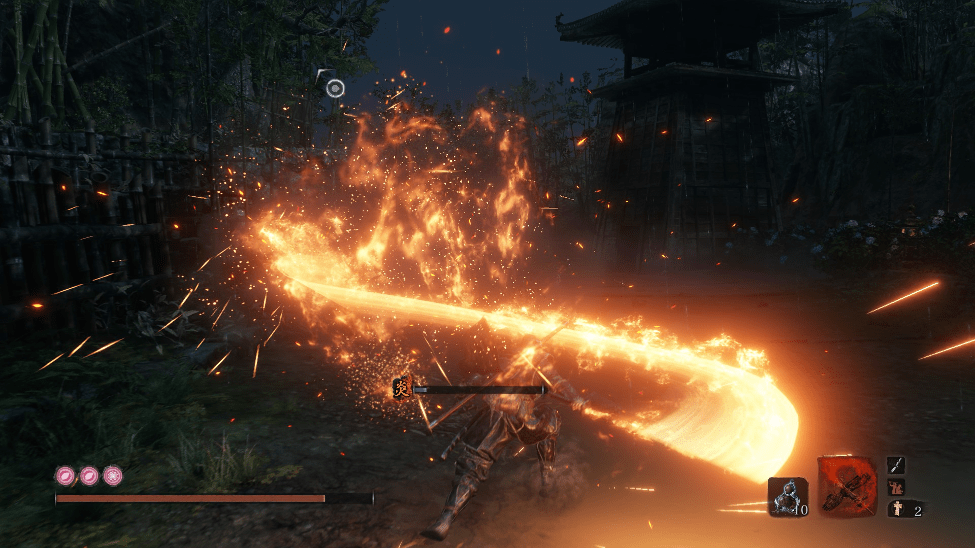
Flame Vent
As you’ve been going through Ashina Outskirts, you should have encountered an old lady with the Young Lord’s Bell Charm. If you haven’t, I recommend heading back close to the start of the area and checking the ruined buildings. Bring this bell back to the Idol in the Dilapidated Temple. With it, you’ll be able to access the Hirata Estate, home to the next three Prosthetic Tools.
From the start of the Estate, head over the bridge and through the main entrance. There’s an Idol directly left. Rest at it, then head forward to the end of the path. There’s a hole in the wall to your right, leading to a collection of small houses with a campfire. The Flame Vent is inside the fire.
The Flame Vent is best used to set your enemies aflame. This is most effective against “Red Eyed” enemies, such as the Chained Ogre. It’s also particularly effective against enemies wearing flammable apparel, such as the riflemen found in the Sunken Valley. Against flame-resistant enemies, this will probably do you more harm than them.
The Flame Vent prosthetic has a fair few upgrades that improve its base effects. You’ll be able to fire a continuous gout of flame, an explosive short-range shot, and imbue your blade with fire once you’ve unlocked the Living Force skill. Overall, you’ll get more maneuverability in combat, but it’s a tool best used against enemies weak to flame.
Loaded Axe
The second Shinobi Prosthetic in Hirata Estate is the Loaded Axe. You can find this prosthetic fairly close to the Flame Vent. Starting from the Estate Path Idol, head up the road and through the hole in the wall. Instead of going to the campfire, run past it and up the hill. On your right will be a dying man in a blue robe. Once you reach him, hop over the wall opposite him and pass the larger building. You’ll reach a tiny shrine with a closed door and two bandits talking outside it. Open it for your Loaded Axe.
The Loaded Axe is the perfect berserker weapon. With it, you’ll be tearing through your enemies’ shields, dealing heavy damage against individual targets, and controlling crowds with a whirling strike. You can also use it to punish targets with slow attack patterns, along with dealing massive posture damage. For a slower, more brutal approach to combat, you can’t go wrong with the Loaded Axe.
With upgrades, your Loaded Axe will be much more damaging. You’ll be able to wreathe your axe in flame, doing more damage and inflicting the burn status effect. You’ll also be able to slam your axe into the ground, causing a powerful AOE explosion. With the Fang and Blade skill, you’ll become a bit more maneuverable and increase your overall DPS.
Mist Raven
The final Prosthetic Tool in Hirata Estate is the Mist Raven. You can find it by starting from the Estate Path Idol and heading straight up the main path, if you have the gate unlocked. If not, you’ll have to head around and through the bamboo area. Once you reach the bridge, dive into the river and swim up toward the waterfall. Grapple onto the low branch and head into the cave blocked by bamboo stems. You’ll have an Interior Ministry Ninja to deal with, then scale the wall at the back of the cave. At the top, there is a three-story pagoda guarded by another Interior Ministry Ninja. Kill him and head inside for the Mist Raven.
The Mist Raven is one of the most unique and interesting Prosthetic Tools of the bunch. With it, you can truly move as a shinobi, repositioning to an opponent’s weak spot as they strike, and delivering a deadly one of your own, all in a single fluid motion. Essentially, the Mist Raven acts as an upgraded parry, allowing you to reposition behind, above, or to the sides of an enemy if you time it perfectly. You’ll get invulnerability frames during the move, and also be able to use it against perilous attacks. You can’t use Mist Raven against grab attacks, however.
With upgrades, the Mist Raven becomes even more useful. You’ll be able to use it after getting hit, giving you a second chance if you miss your timing. With the final upgrade, you’ll also gain an offensive move; once you use the Mist Raven, the feathers will ignite, causing an explosion that will burn nearby enemies. You’ll be able to follow up with your usual attack, giving you a direct increase in damage output. For even more effectiveness, I suggest getting the Fang and Blade skill in the Prosthetic Arts tree. With it, you’ll follow up your Mist Raven with a sweeping strike, causing more damage than the standard attack.
Loaded Spear
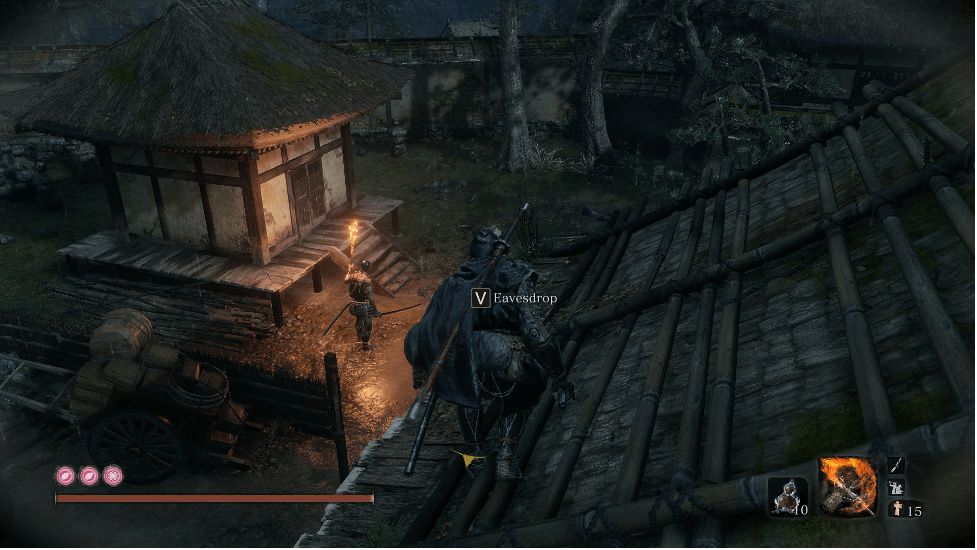
Moving on from Hirata Estate, the next Prosthetic Tool brings you back to Ashina. After beating Gyoubu, you’ll open up Ashina Castle. Starting from the Idol of the same name, you should grapple onto the nearby tree branch and head over the bridge. By eavesdropping on the two soldiers on the bridge, you’ll gain a bit of information regarding the Spear. Kill them for the Gatehouse Key, which you’ll need to unlock the building that houses the Spear.
If you’ve already unlocked the Ashina Reservoir Idol, you can travel to that and grapple over to the far side of the gap. There are a bunch of tree branches that lead you right back to where you started the game, almost just outside the building you had to sneak under. Unlock it with the Gatehouse Key and open the chest inside for the Loaded Spear item.
The Loaded Spear has a couple of good uses – it’s great for closing the distance between you and enemies, and you can use it to strip armor off armored enemies, like the Armored Taros. To close on an enemy, you can either rush them with the Spear, delivering a flurry of strikes, or use it to pull an enemy to you once you have Fang and Blade. You’ll deliver a follow-up slash once the enemy is before you. If you’re having trouble with the Guardian Ape, you should use the Loaded Spear. Once the Ape comes down after his flurry of attacks, you can pull out the Immortal Centipede and do an awful lot of both vitality and posture damage.
With upgrades, you’ll do a bit more damage and have a couple more options at your disposal. You’ll get a cleave attack perfect for crowd control, be able to deliver more strikes in a combo, and a fire attack that can help build up the burn ailment.
Sabimaru
Sabimaru is a Prosthetic Tool that can be found inside Ashina Castle, close to the Genichiro boss fight. Starting from the Upper Tower – Antechamber Idol, head inside the next room and jump straight down the hole in the center. Early in the game, you’ll find a group of samurai training down there. Later on, it’ll be a Chained Ogre. You decide which is easier to face. Head through the small door at the back of the room. Sabimaru is inside the chest.
Sabimaru is an offhand blade that can be used to deliver a long and incredibly damaging combo. You’ll essentially be doubling your standard combo, as you have an additional blade accompanying each strike. Sabimaru also inflicts poison on enemies, adding even more bite to the little blade. It isn’t necessarily as flashy as the other Prosthetic Tools, but Sabimaru’s effectiveness, especially against humanoid enemies that block a lot, is undeniable.
Sabimaru has a couple of upgrades. The two most notable upgrades are Piercing Sabimaru and Lazulite Sabimaru. Piercing Sabimaru will allow you to deal chip damage through an opponent’s guard. You’ll also inflict poison buildup a bit quicker. Lazulite Sabimaru is a sort of improvement, creating a cloud of poison with each strike. While this sounds great on the face of it, the effects leave much to be desired. While you can use it to build up poison in enemies behind an opponent, that’s about all it’s good for. It doesn’t increase poison buildup, and you’ll probably kill an enemy before the clouds fully inflict poison.
Loaded Umbrella
The Loaded Umbrella is the second and last Prosthetic Tool you can buy from a merchant. It can be purchased from Blackhat Badger for 1600 Sen, a merchant hiding out in the ruins of Ashina Castle. From the Old Grave Idol, jump off the ledge right next to the Idol and through the hole in the house below. The merchant is in this house.
This Prosthetic Tool is essentially a shield. With it, you’ll be able to better protect yourself from attacks, but not much else until you have the Projected Force skill. This will allow you to follow up a block with a powerful counter, being slow but dealing a significant amount of damage. You’ll also be able to “charge” the Umbrella with ranged attacks. Once you’ve deflected enough attacks to get the Umbrella smoking, you can launch projectiles back at enemies. While this is a decent perk, the Loaded Umbrella truly shines once it has a few upgrades.
The Loaded Umbrella has a few upgrades that drastically improve its abilities. The Magnet upgrade enables your Umbrella to spin, which will perfectly deflect any incoming attack. If you have enough Spirit Emblems, you’ll be able to deflect an entire combo from an enemy, then counter with your own powerful attack. The Phoenix’s Lilac upgrade defends you against Terror attacks, while imbuing your counter with spirit damage. The final upgrade, Suzaku’s Lotus, works exactly the same as Phoenix’s Lilac, though swapping the Terror effects with fire effects instead.
Divine Abduction
The next Prosthetic Tool takes us to the Sunken Valley, inside the Gun Fort. From the Idol of the same name, cross the bridge and enter the Long-Arm Centipede Giraffe’s arena. Kill him and head to the back of the room. The item for Divine Abduction is at the foot of the statue.
Divine Abduction is another pretty unique Prosthetic Tool, its effects being markedly different than any other tool in the game. It can be used to create openings during combat, spinning an enemy around and allowing you to deliver a backstab Deathblow in most cases. This works well against single enemies and crowds; you’ll easily dispatch single enemies, even hardier ones like the Taro Troop, while against groups, you can use Ninjutsu at will. There’s nothing sweeter than using Divine Abduction to backstab an enemy, following it with a Bloodsmoke or Bestowal Ninjutsu. Divine Abduction can be used to immediately kill some enemies, most being up at Senpou Temple, and also has use during Kotaro’s questline.
Divine Abduction has two upgrades. Double Divine Abduction allows you to spin enemies twice in quick succession. While this might sound pretty good, it isn’t terribly effective. You only have a few seconds to make use of the additional spin, and it likely isn’t enough to hit two enemies and backstab them both. The Golden Vortex upgrade is much more useful. It can be very effective when farming, essentially causing enemies to drop double the items and money as usual. Each use of Golden Vortex will cause an enemy to drop the exact same item and amount of money as they would when killed, but only once per Idol rest. Combining that with the loot you get from killing an enemy amounts to double the loot.
Finger Whistle
The final Prosthetic Tool is the Finger Whistle, located in the belly of the Guardian Ape. The Ape can be found at the end of the Sunken Valley area, guarding an item you need to progress the story. By killing him, you’ll get the item required for the Finger Whistle.
The Finger Whistle is essentially a distraction tool. You can use it to enrage beasts, causing them to attack anything in sight, including their own allies. It doesn’t work on beast-type bosses, however. The second use is to attract an enemy, bringing him toward where you blew the whistle. This can be used behind cover, allowing for a quick Deathblow on an otherwise difficult enemy. As with other Prosthetic Tools, the Finger Whistle becomes much more useful with upgrades.
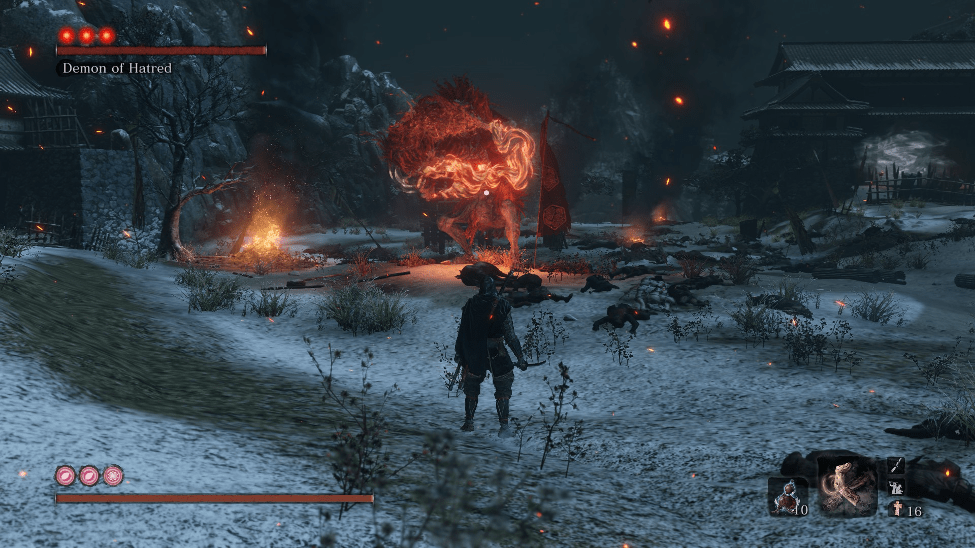
The Finger Whistle has two upgrades. The first upgrade, Mountain Echo, grants a delaying effect to the Whistle. This essentially creates a remote distraction; you can blow it in one location, then move to another before the Whistle takes effect. After a few seconds, it will sound, attracting or enraging enemies. The second upgrade, Malcontent, is the perfect weapon against apparition-type enemies. Upon blowing the Whistle, apparition-type enemies will be stunned, including bosses such as the Headless, Shichimen Warriors, and the infamous Demon of Hatred. If you’re having trouble with these bosses, I recommend giving the Finger Whistle a go.
That’s everything you need to know about the Prosthetic Tools in Sekiro. There are quite a few, and each one has some fairly interesting effects, even if they aren’t always viable in combat. I recommend giving each one a try to spice up your fights. Alternating between Prosthetic Tools can create some pretty cool synergies, and it can be a breath of fresh air if you’ve mastered combat with Kusabimaru.